Pinhole cameras.
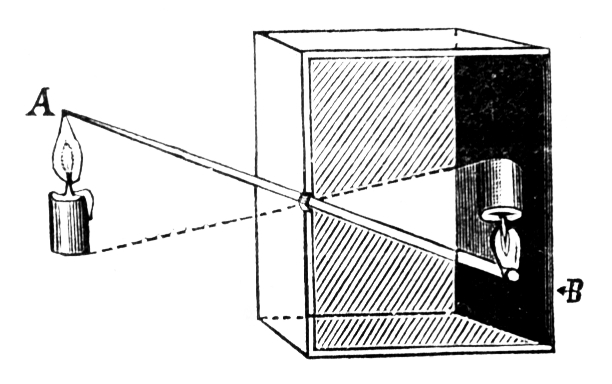
Pinhole cameras are basically a light tight box with a pinhole on one side and light sensitive paper or film on the other side. The light enters trough the pinhole and is projected onto the paper. The exposure times can vary from a few seconds to months depending on the image you wish to produce. Cameras with long exposure times can be used to create images which track the suns path through the sky over a long period of time. If you use coloured film inside your pinhole camera your images will come out in colour. You can turn existing DSLR cameras into pinhole cameras by replacing the lens with a pinhole lens or a piece of tinfoil with a pin-prick in it, this gives you digital pictures rather than images on paper or film. Therefor you can see the images you take straight away
|
Pinhole cameras are a great way of making unique images at a low cost. They are simple to make and easy to use. They work by reflecting the light of a object onto light sensitive paper.
|
|
How to make one...Ingredients:
·1 x container (e.g. hot chocolate tin, coffee tin ect.) ·1 x sharp knife or drill ·Black Gaffa/Duct tape ·A very thin, sharp pin ·Black matt paint and a brush (or black spray paint) ·Aluminium foil (Tinfoil) ·A pair of scissors (optional) Follow the guide to the right for the rest→
|

| ||
negative.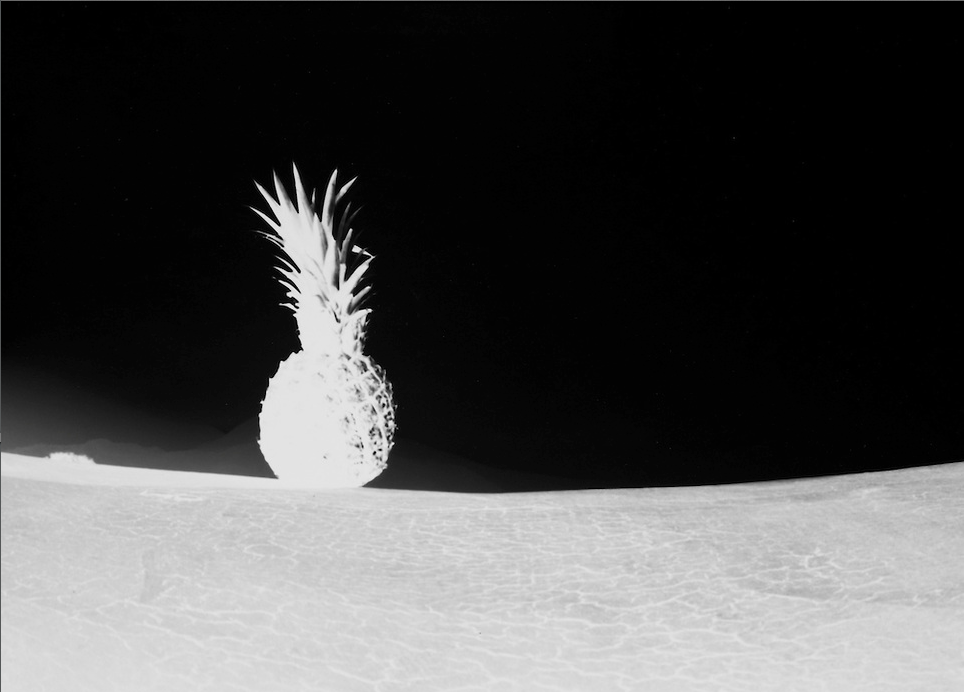
|
posotive.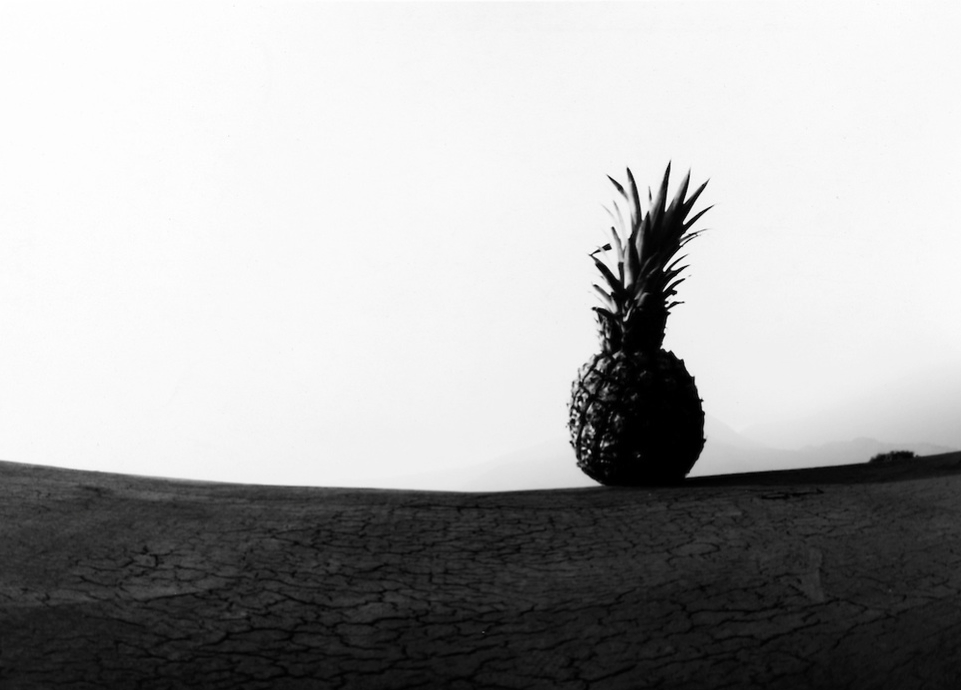
|
The paper from the camera is scanned, flipped and the image is reversed using photoshop.
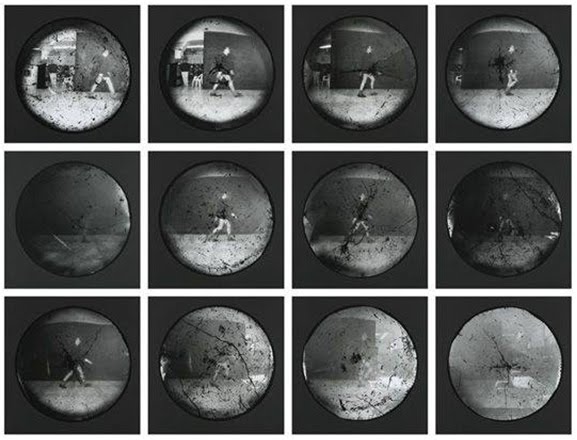
Steven pipin
|
|
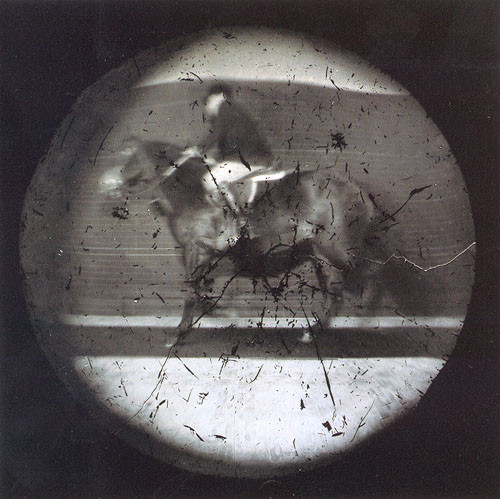
These photos was created by the photographer Steven Pipin. These are from his early works of making everyday furniture and objects into makeshift Pinhole cameras. He took them using washing machines and there wash cycles to act as a miniature dark room and developer. He turned all the machines in a laundrette into cameras. He lined the floor the floor with string and as his feet pulled them the shutters of the camera were opened. He walked through the laundrette opening the shutters as he walked along which is why there are so many variations of him walking. He did the same thing but riding a horse which gave the first image.
my images.
|
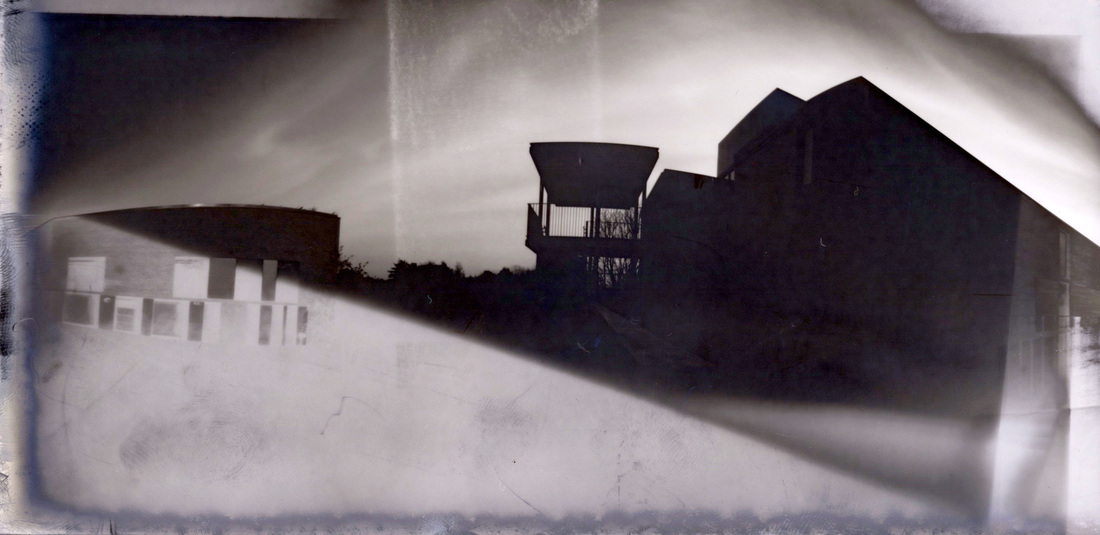
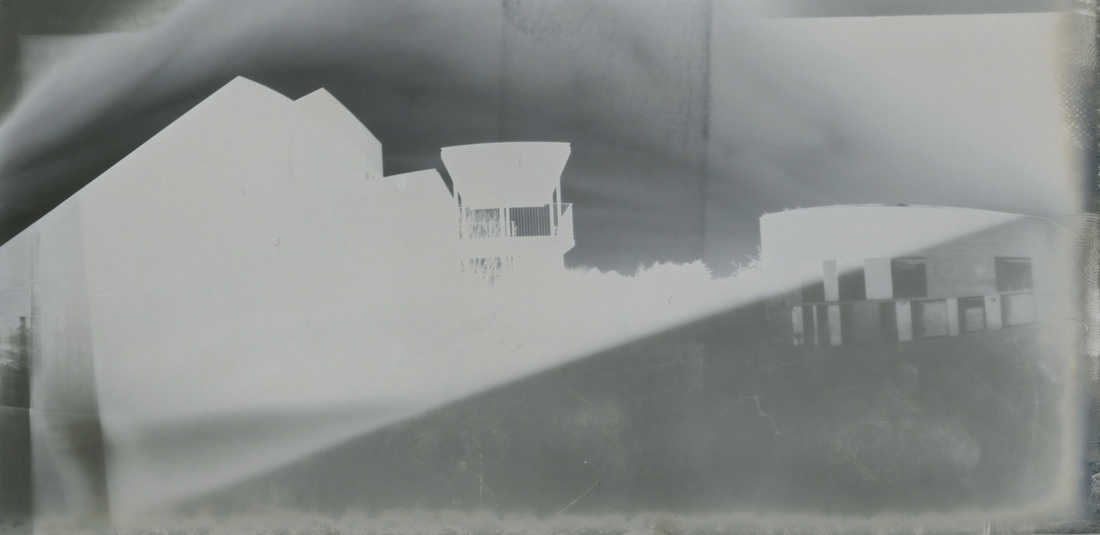
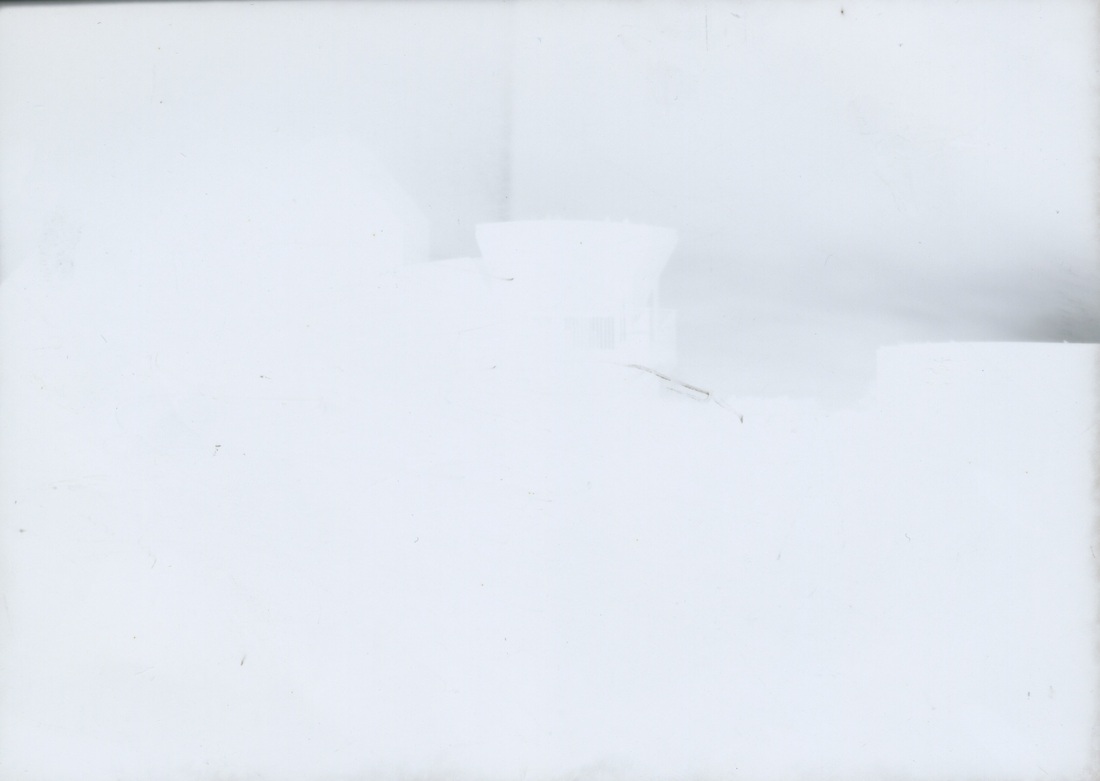
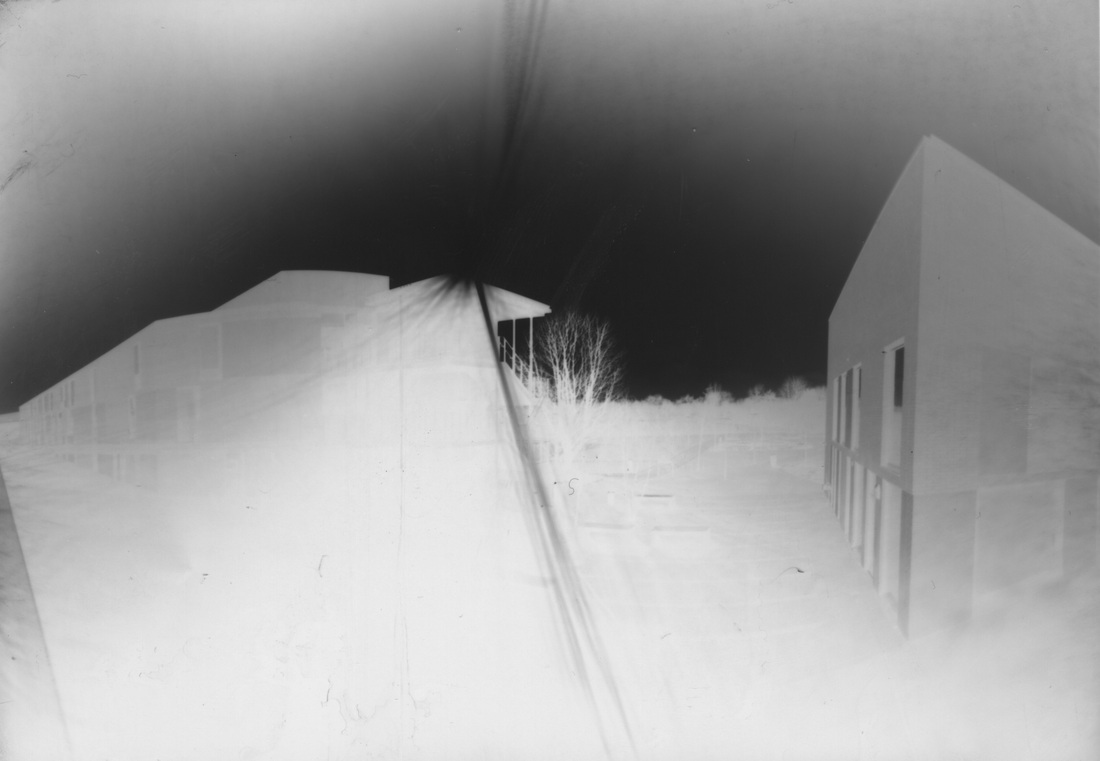
Whilst these photos were in the developer, the darkroom main light was turned on. This meant that the images became partially solarised. This is a process which involves the paper negative being re-exposed to light during development causing the image to become partly positive. You can see the difference between positive and negative in these images as they were partly covered by another photograph when the light was turned on. I actually really like the effect it has had on the pictures and am happy with the way it came out. This was my first try at making a pinhole picture and I really enjoyed it.
|
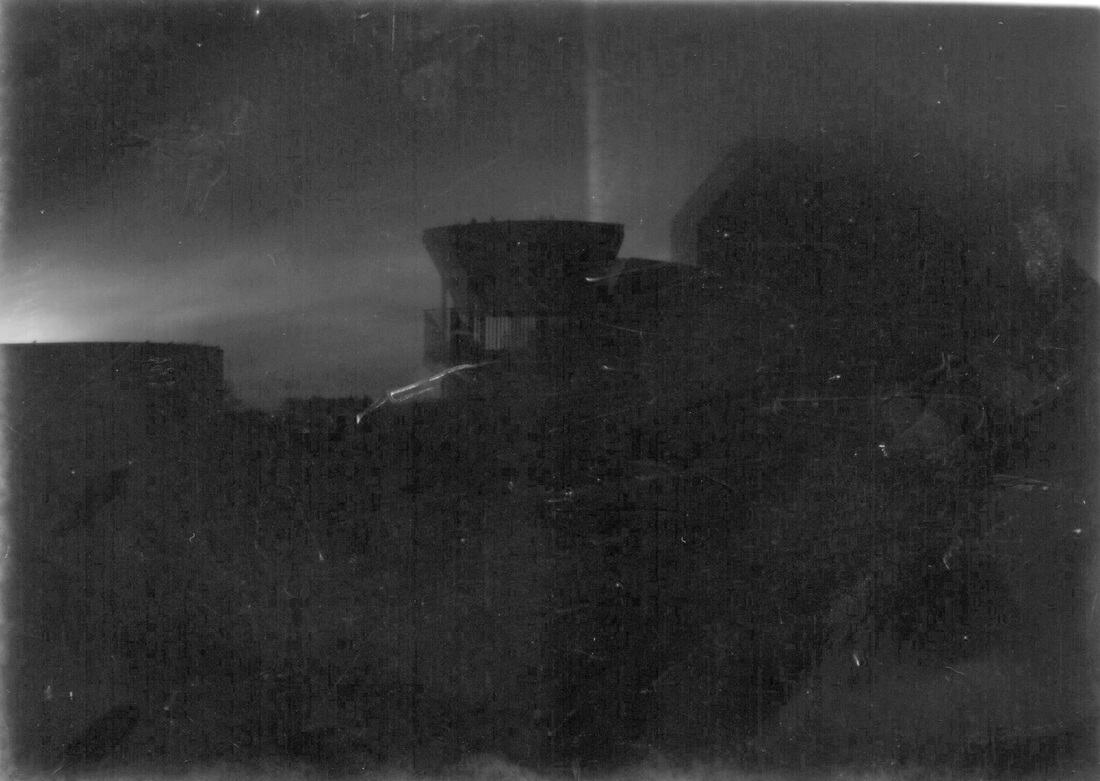
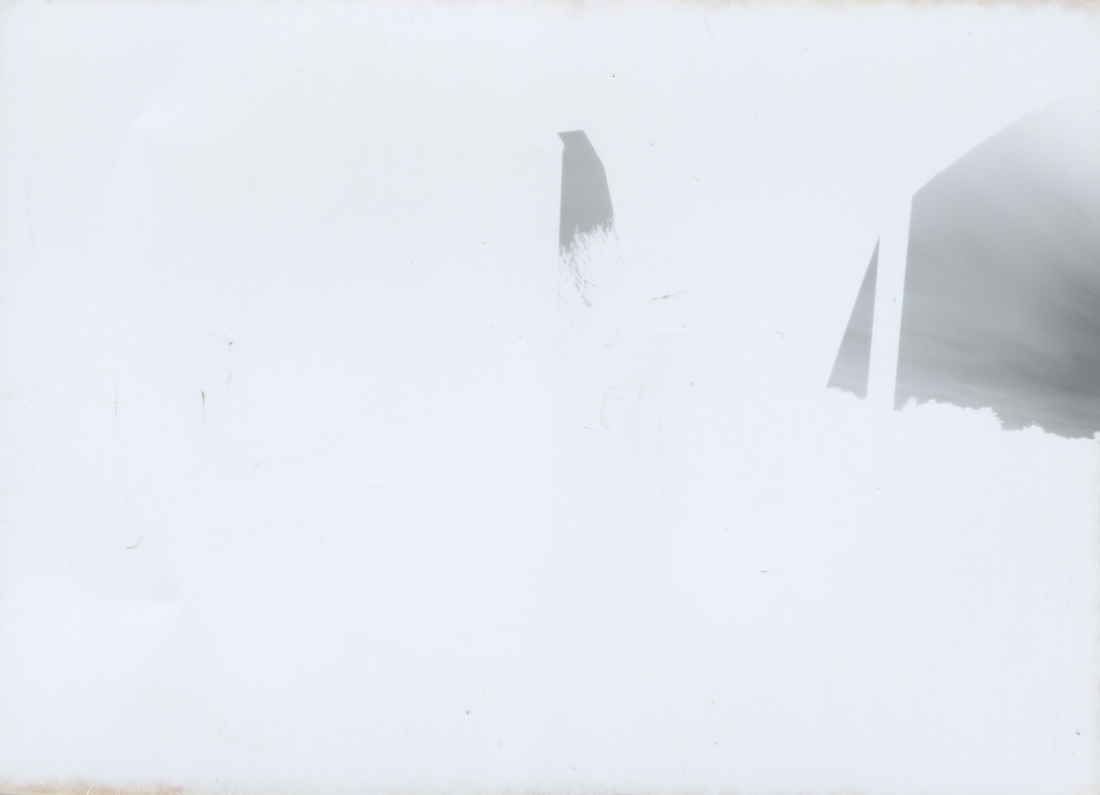
These images didn't come out very well as I chose a dark place to take the image. It was also quite an overcast day so not much light was able to enter the pinhole. Next time I will photograph on a brighter day and will also need to expose the paper for longer.
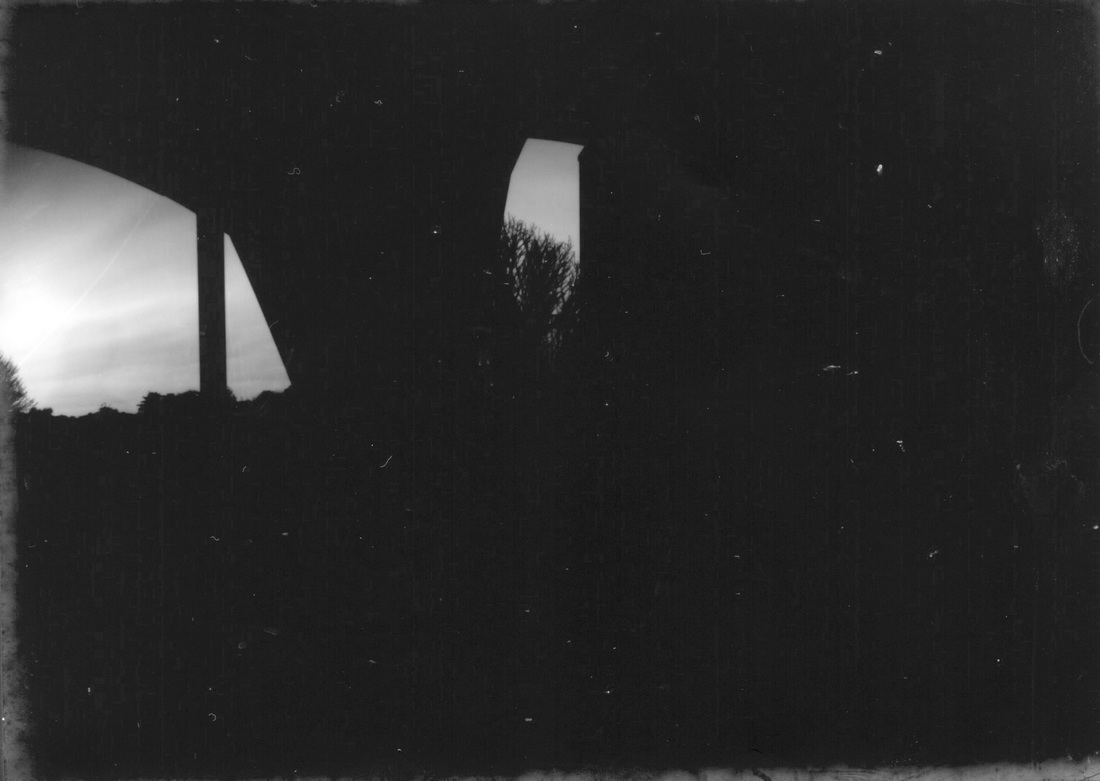
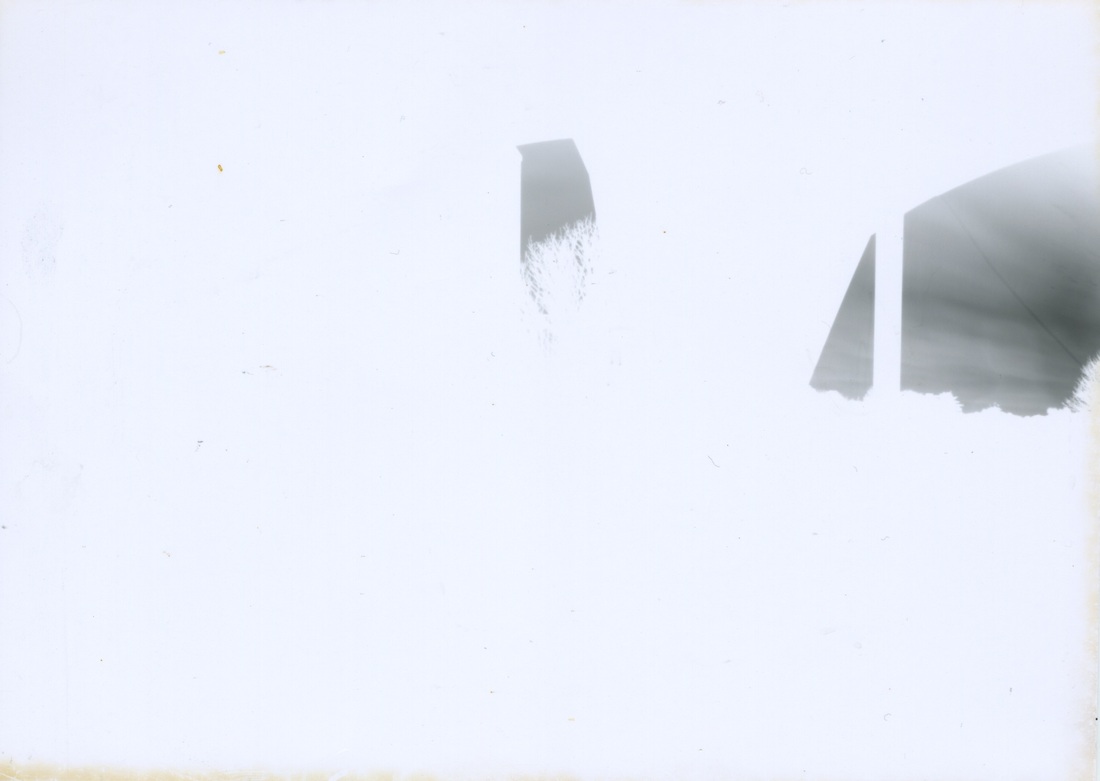
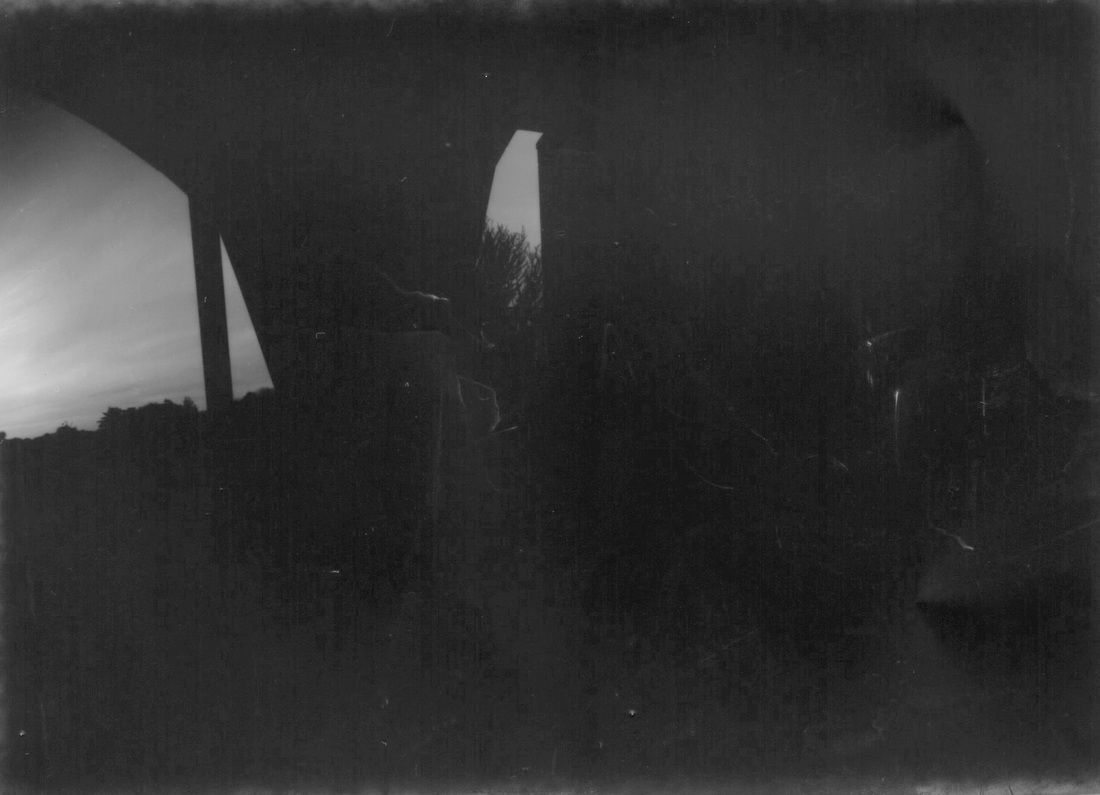
My third set of images.

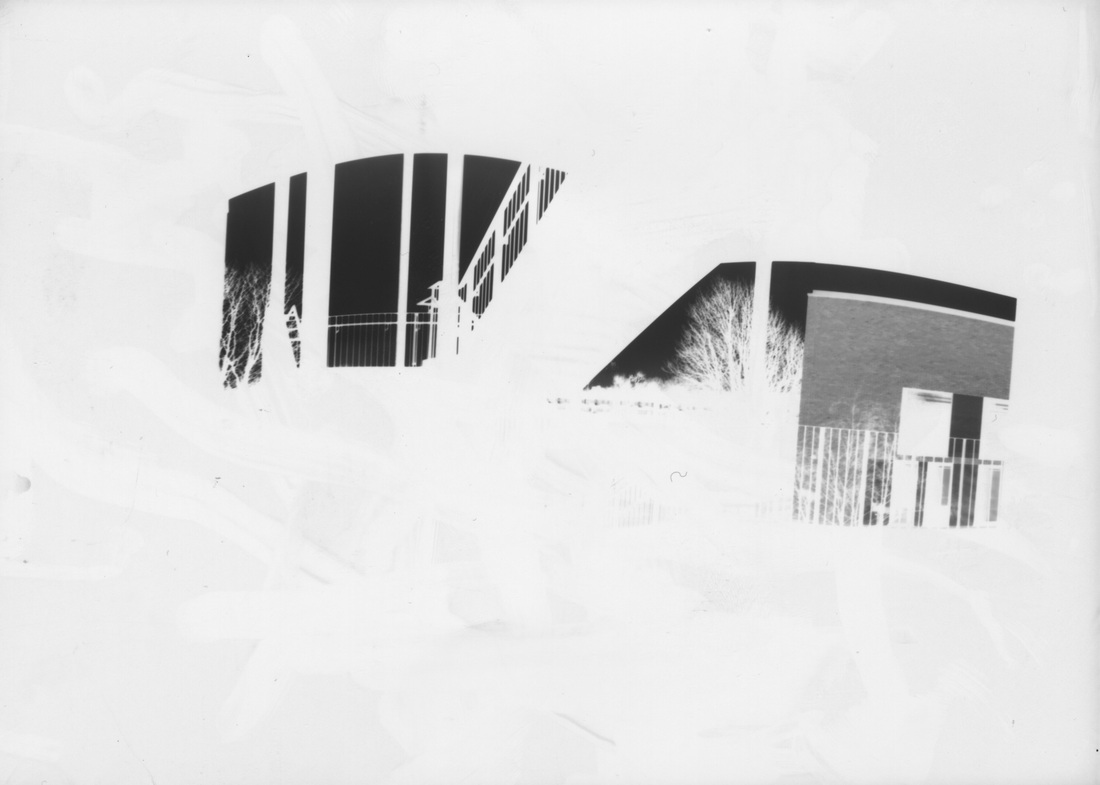
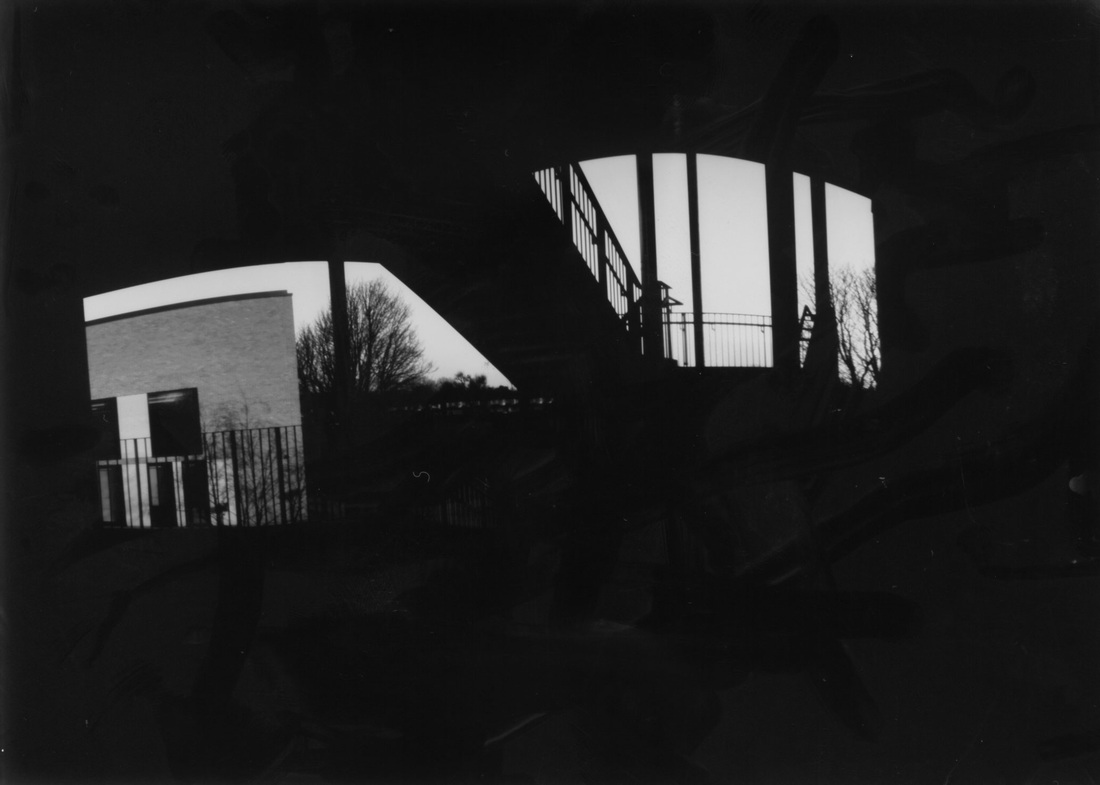
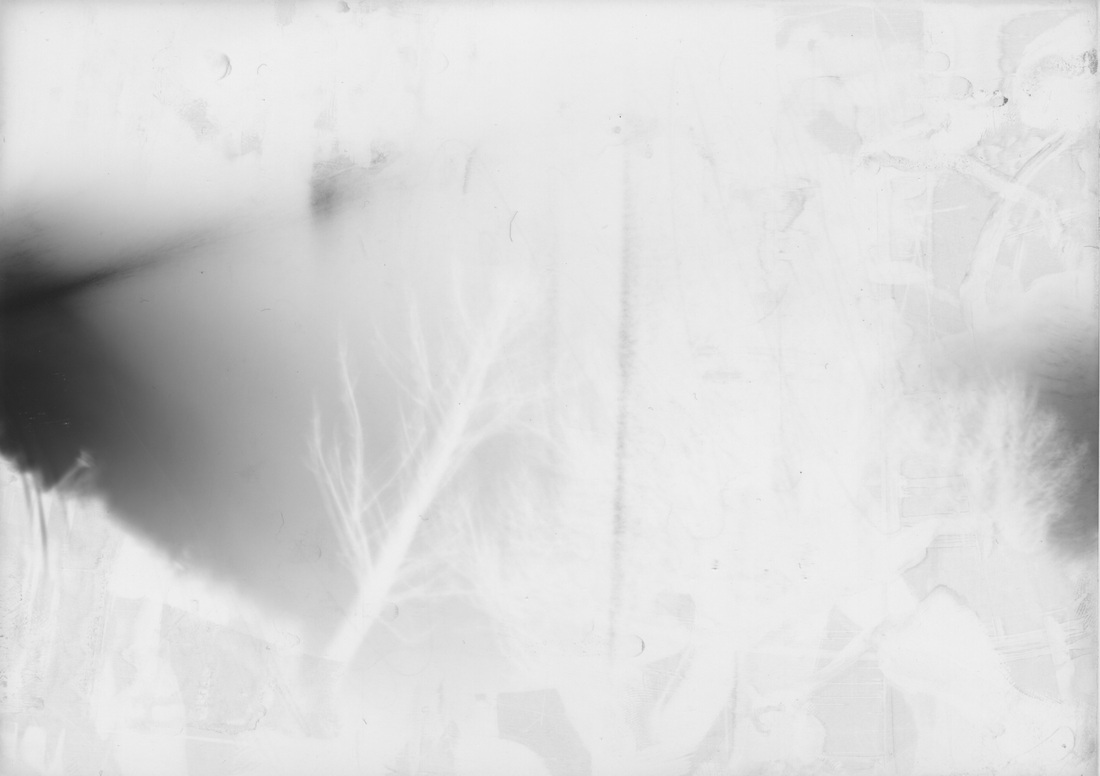
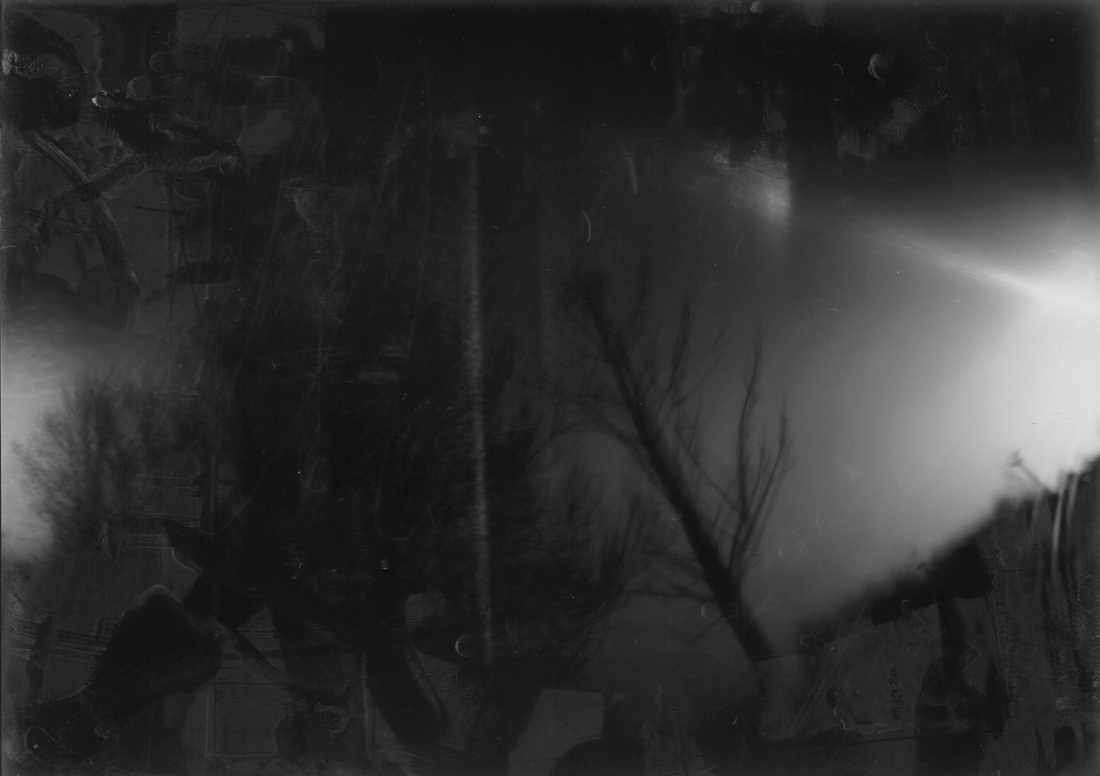
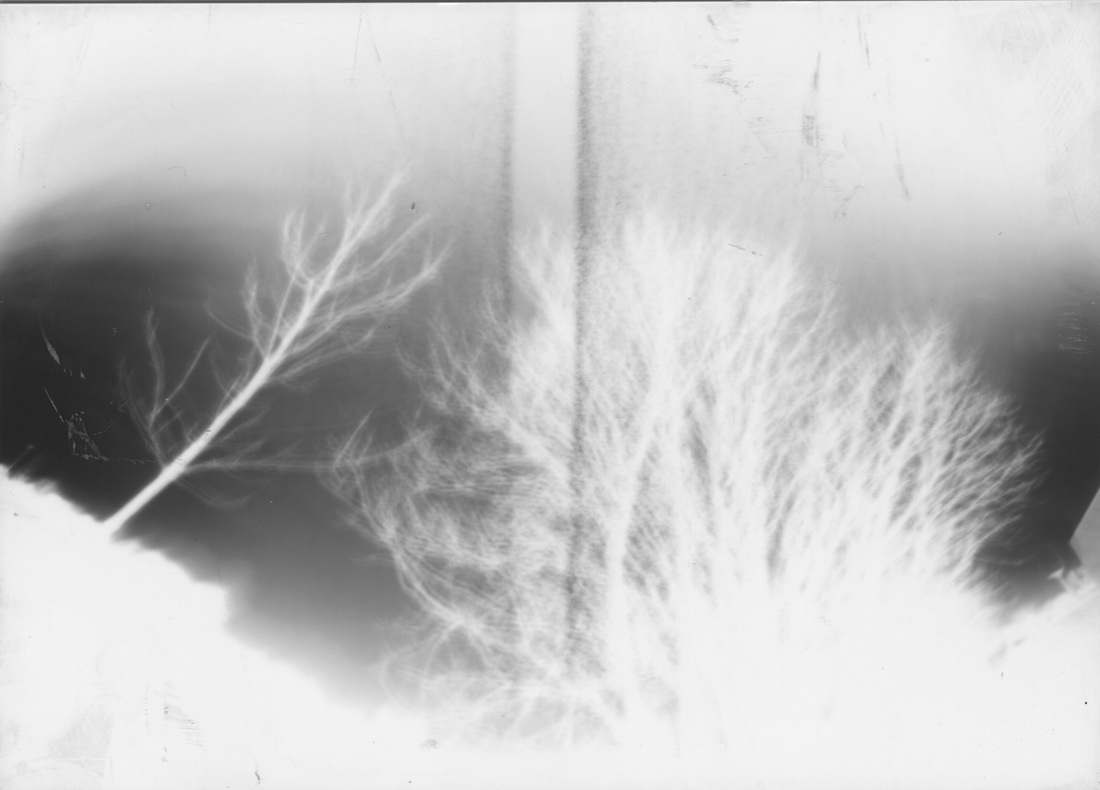
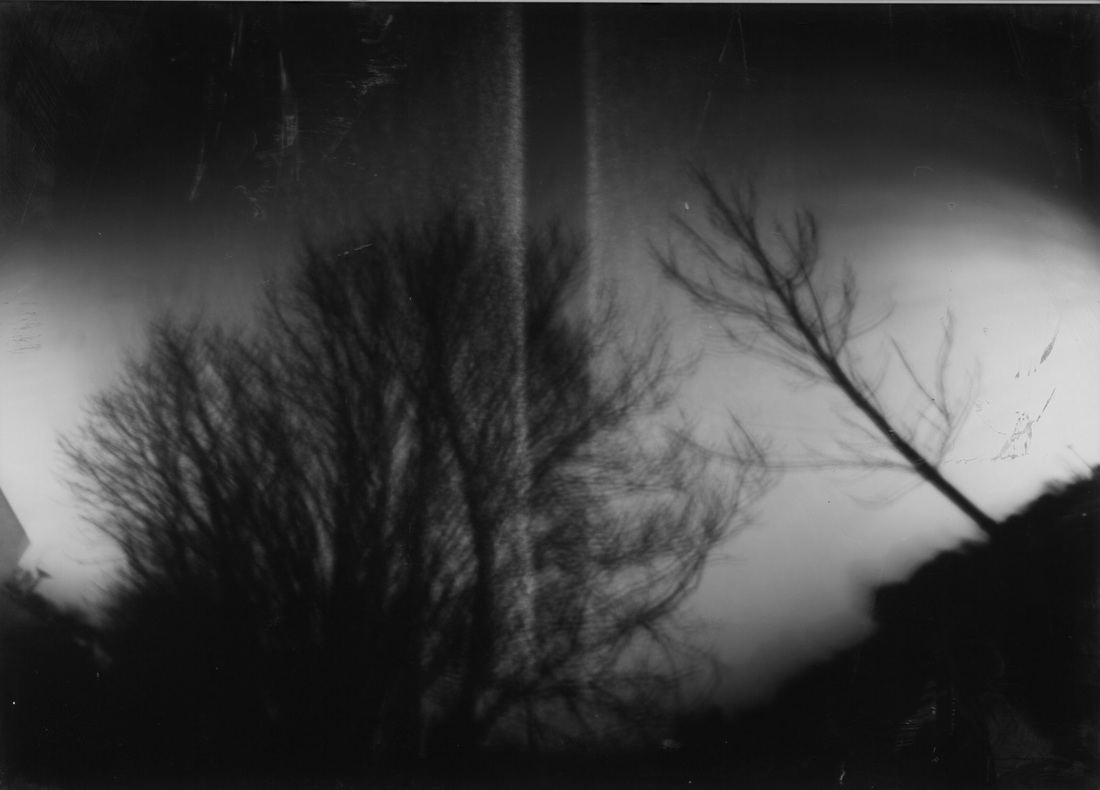
My favourite image of this set is the second one. I love the contrast between the solid black and the bright white. I like the way it looks like a window to the outside and how the image is quite geometric and made of strong straight shapes and lines. I think I prefer the negative version of the image as it looks really interesting and I like it being on a white background. I also quite like the images of the trees as they look soft and hazy. I think they look quite enchanting and haunting and I really like the overall impression they give me.
